Inside my Seestar S30 Pro
A small observatory in one box. Here is what each part does, from the first light to the finished photo.
Meet the parts
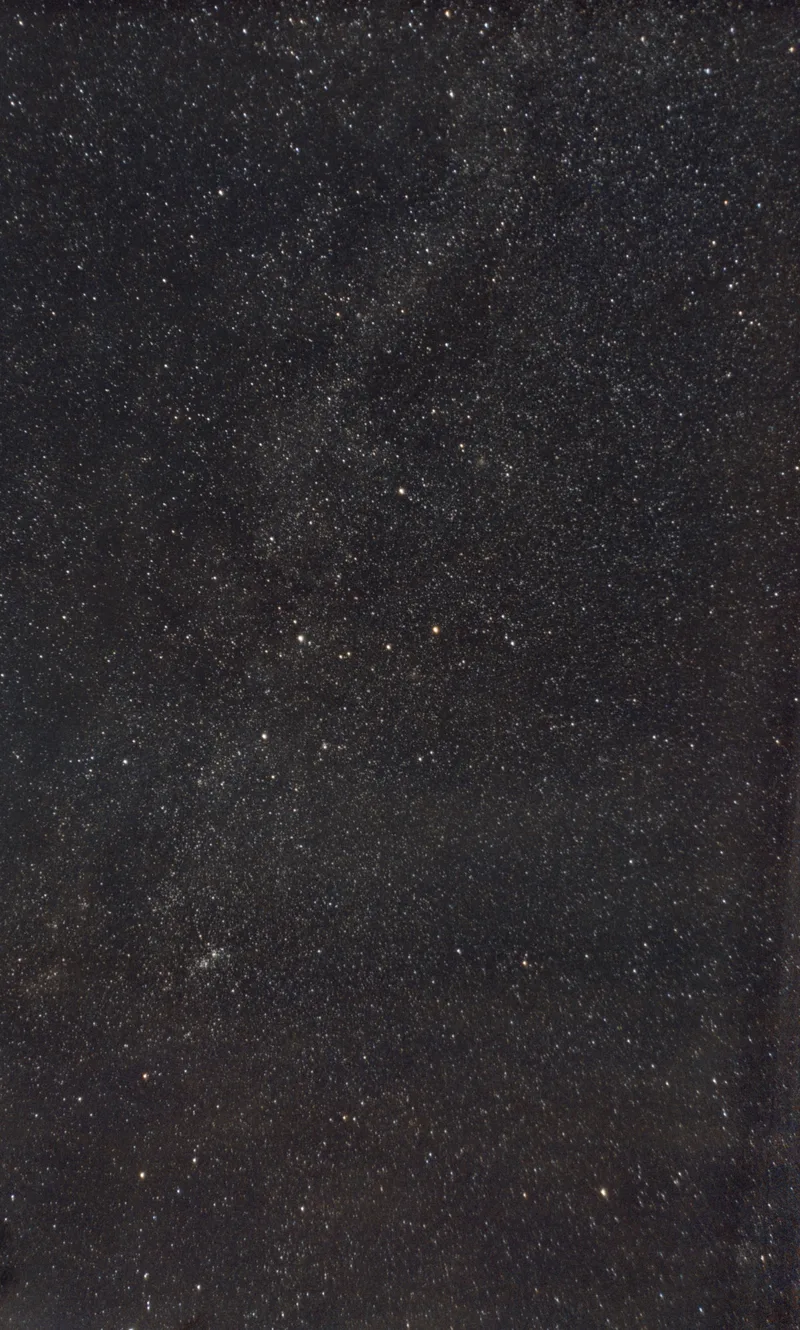
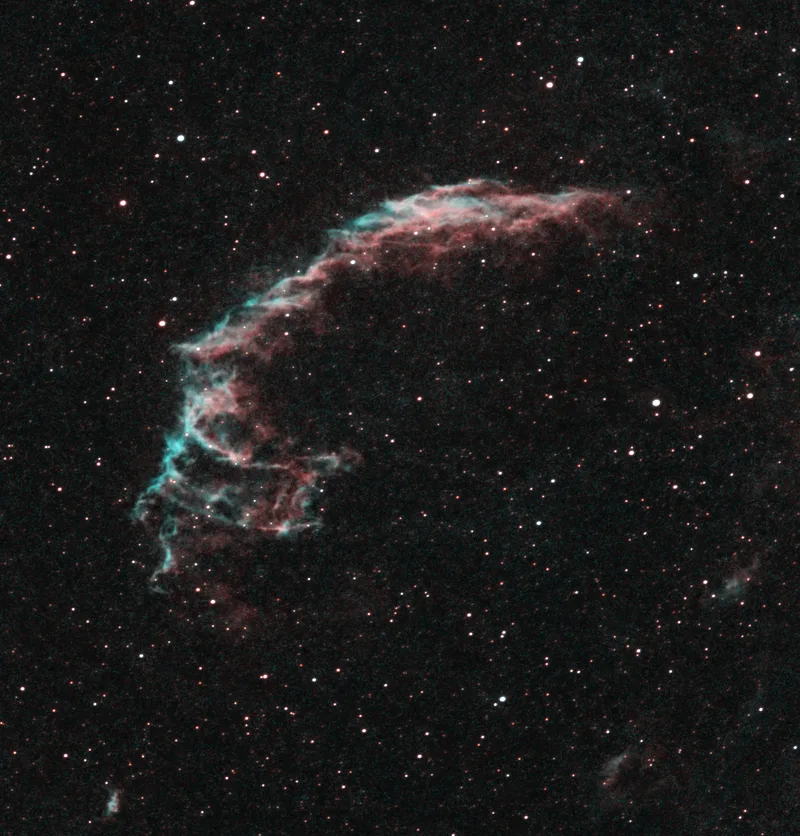
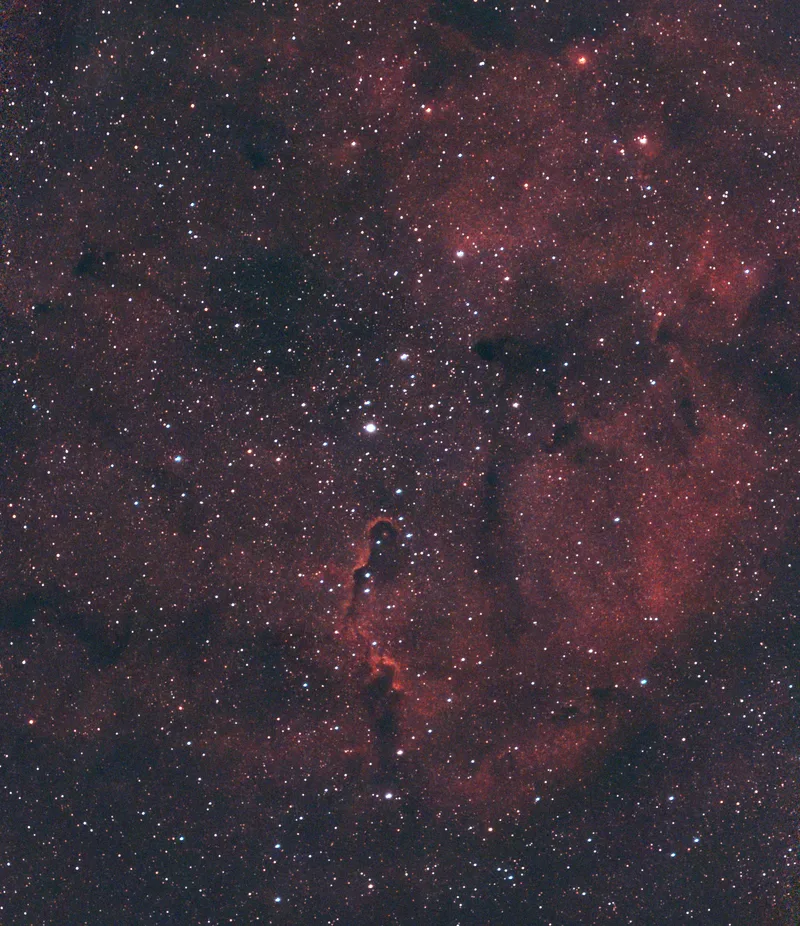
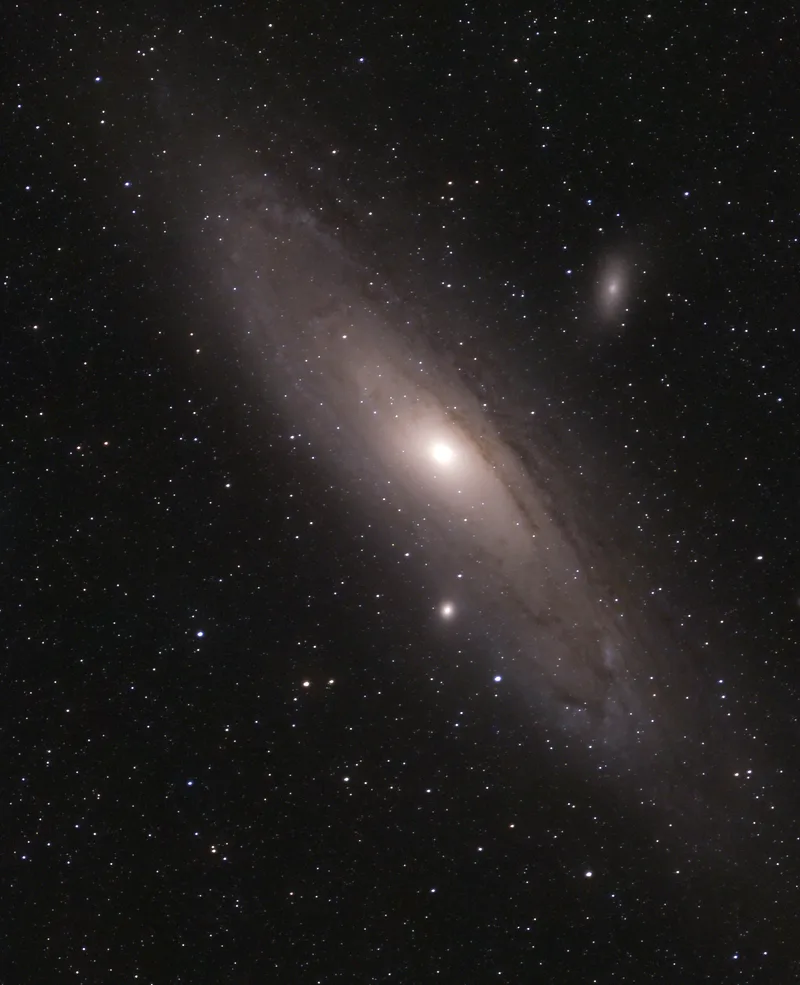
Every photograph in this atlas was taken with my Seestar S30 Pro. Inside it are two camera systems, motorised pointing, a focuser, filters and a computer. The phone is the control panel and screen.
The main camera uses a 30 mm aperture, 160 mm focal length and four-element apochromatic lens, including low-dispersion glass. The lenses work together to bring different colours into a sharper image. Its focal ratio is f/5.3.
The separate wide camera has a 6 mm focal length and 3.4 mm aperture, with a much wider view. The main camera uses a Sony IMX585 sensor; the wide camera uses an IMX586. Both record 2160 × 3840 images at their native 1× setting.
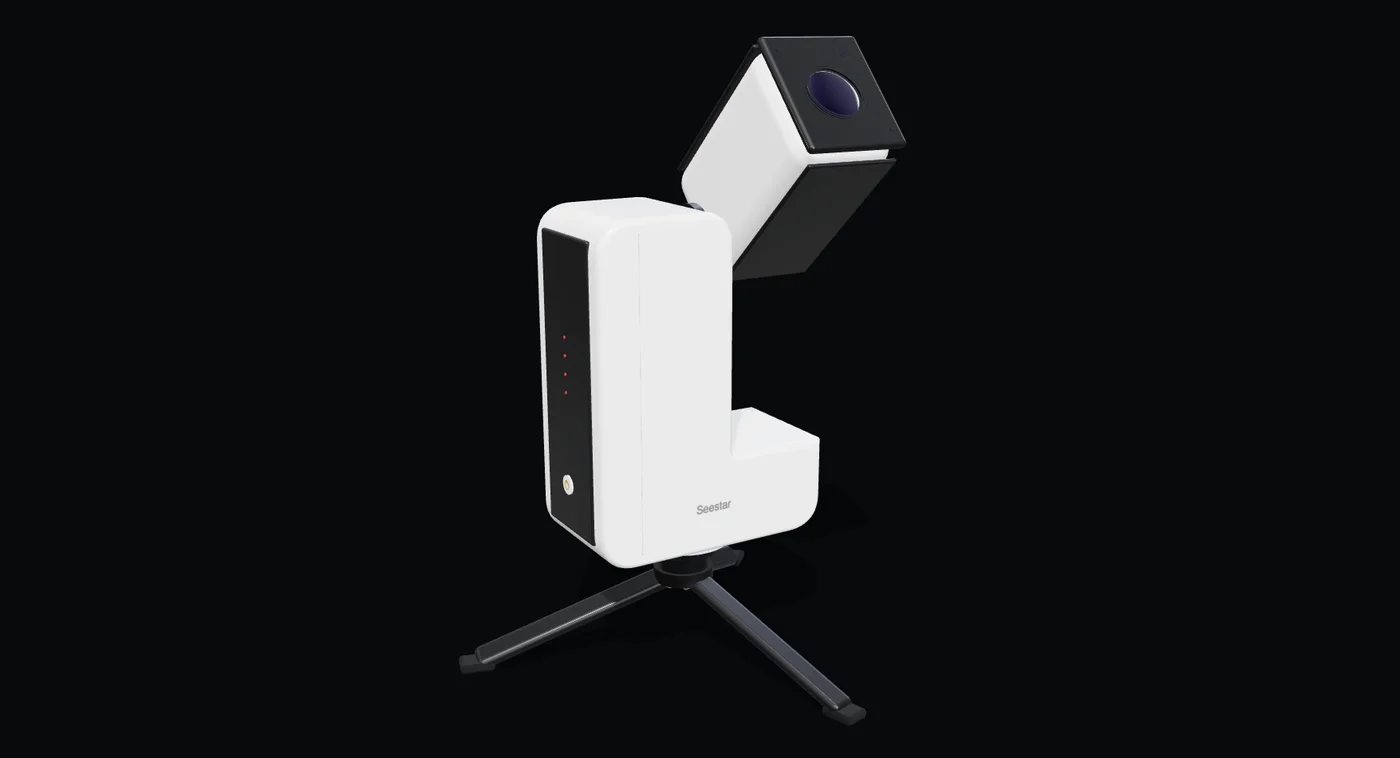
Main optics
A 30 mm opening and four lens elements gather and focus the light. The 160 mm focal length determines image scale together with the sensor. Low-dispersion glass helps reduce colour fringing.
Read every part description
- Main optics
- A 30 mm opening and four lens elements gather and focus the light. The 160 mm focal length determines image scale together with the sensor. Low-dispersion glass helps reduce colour fringing.
- Wide camera
- A separate 6 mm lens, 3.4 mm aperture and IMX586 sensor see a much larger patch of sky. This is a second camera, not a zoom setting on the main lens.
- Filters
- A selectable UV/IR-cut or dual-band filter changes which wavelengths reach the main sensor. A dark position blocks the light for calibration. The mechanism shown is illustrative.
- Main sensor
- The Sony IMX585 records a grid of 2160 × 3840 measurements in portrait orientation. Its pixels collect light during each exposure; software turns the measurements into a displayed image.
- Focuser
- A motor adjusts focus to make star images small and sharp. This is a focus adjustment, not a variable-focal-length zoom lens. The drive arrangement here is schematic.
- Tracking mount
- Motors turn the telescope up/down and left/right to point and follow a target. Equatorial mode uses an appropriately tilted, aligned support to follow Earth’s rotation.
- Computer
- The onboard controller recognises stars, coordinates pointing and capture, and combines images. The phone app sends commands and displays the result over the connection.
- Power & dew control
- The internal 6000 mAh battery powers the cameras, computer and motors. A lens heater helps discourage condensation; using it also consumes power. USB-C supplies external power.
Follow the light through the main camera
Light enters the objective, the main lens system. The lenses refract it towards the image plane. A selected filter changes which wavelengths continue to the sensor. The camera measures the resulting light.
The cutaway shows what the parts do. Lens spacing, filter positions and internal wiring are illustrative. The manufacturer documents the components, but does not provide a complete optical prescription here.
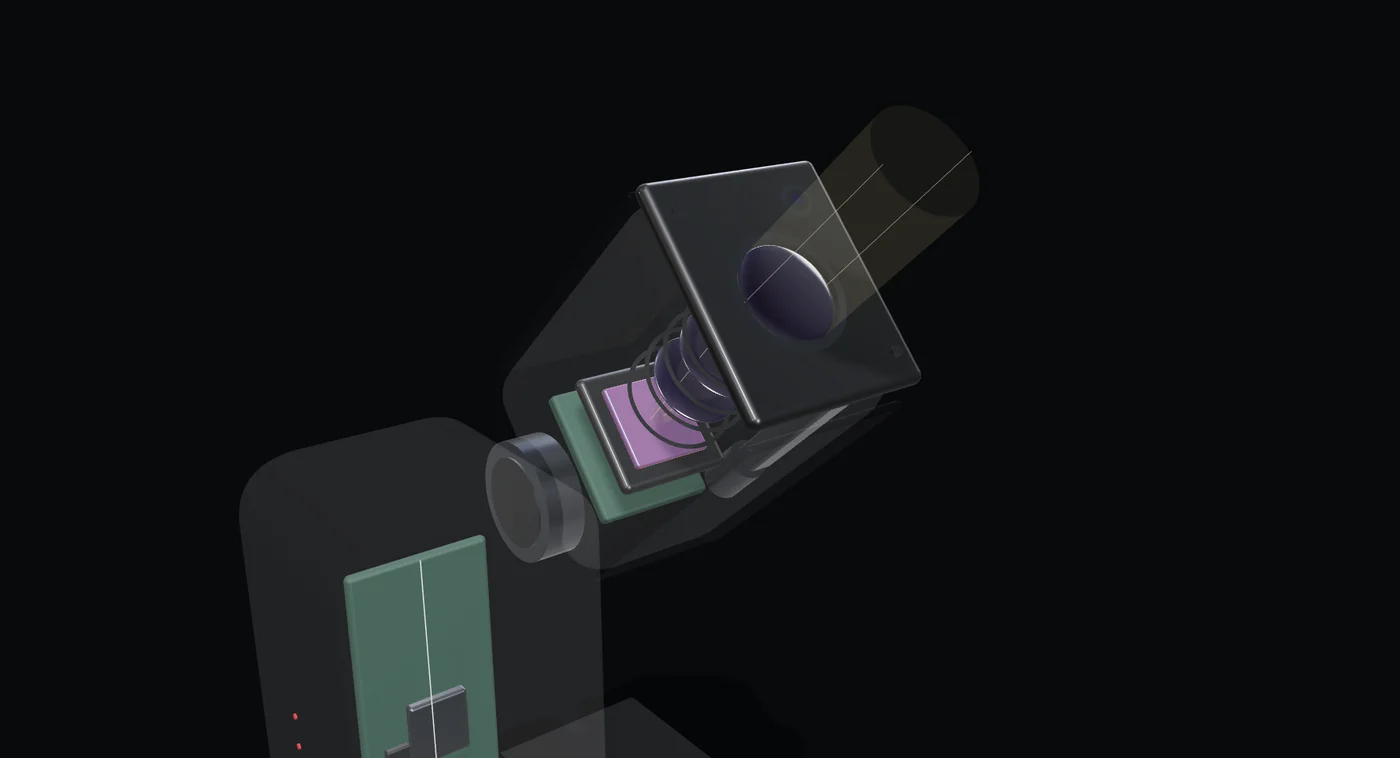
An opening for distant light
The 30 mm aperture is the clear opening of the main objective. Light from many points across the sky enters here.
The light cone isolates rays from one distant point. Other points focus elsewhere on the sensor. Lens shapes, spacing and component positions are illustrative.
What do 30 mm and 160 mm mean in practice?
The 30 mm opening gathers the light. The 160 mm focal length determines image scale together with the sensor. Divide 160 by 30 and you get about 5.3 — the f-number.
The controls below are imaginary design experiments. The S30 Pro’s aperture and focal length are fixed; its focus adjustment sharpens the image. App zoom crops the view rather than changing the lens’s focal length.
With the IMX585’s native pixel dimensions, an ideal 160 mm lens covers about 2.24° across and 3.99° high in portrait orientation. The diagonal is about 4.6°. A crop or mosaic has different coverage.
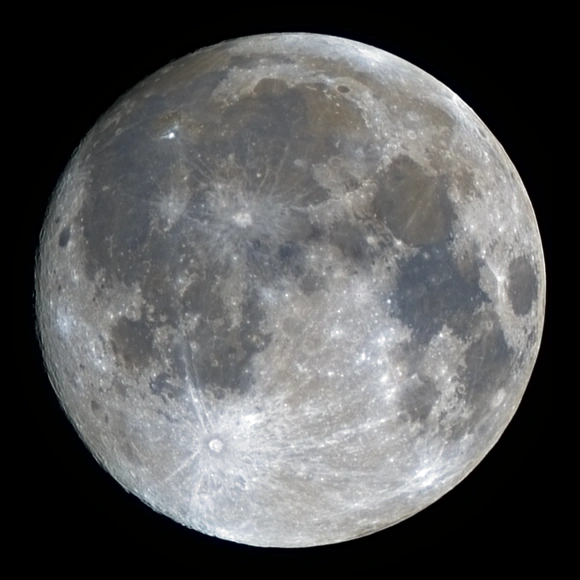 Fixed sensor · portrait
In focus: fine surface detail stays sharp.
These controls change a hypothetical telescope. The S30 Pro’s aperture and focal length are fixed. This uses the native IMX585 pixel area and an approximate lunar angular diameter. The photograph’s brightness stays fixed; the area bar compares light collection, before losses. Focus blur is illustrative.
What makes it smart?
Choose a target in the app. The telescope moves towards it and recognises the star pattern in a camera image. This is plate solving — matching photographed stars to a catalogue to work out where the camera points.
It adjusts focus, follows the moving sky and collects exposures. Usable frames are aligned and combined. Processing then makes the faint signal visible and balances the displayed image.
Automation still has limits. Clouds, wind, poor focus, sky glow and tracking errors can spoil a frame. A long session is not the same as a long total integration.
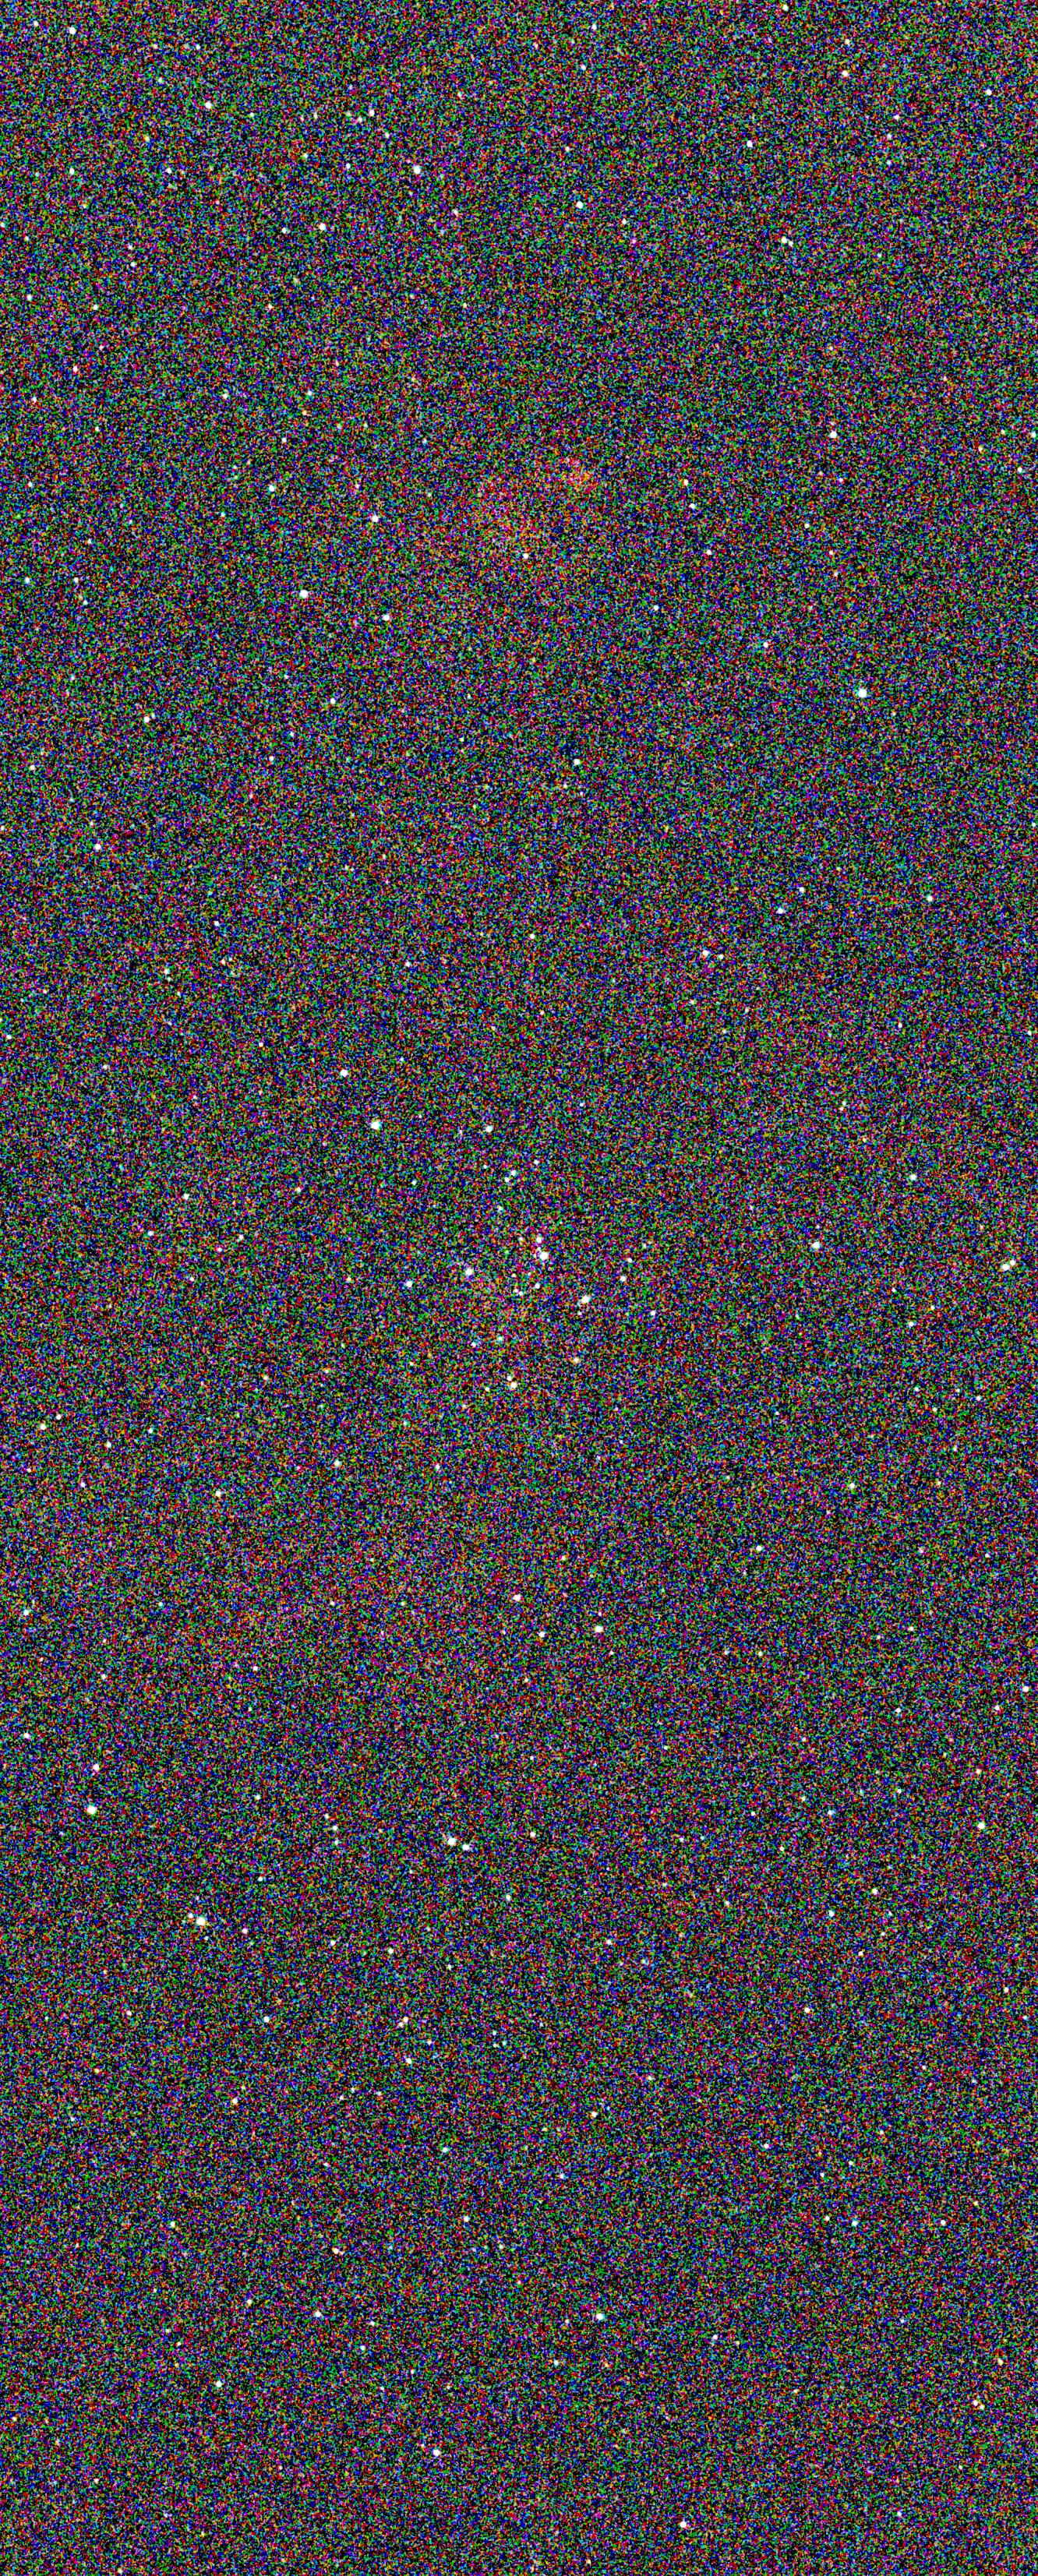
One real exposure · Heart Nebula
Motors turn towards the selected target.
The camera’s star pattern is matched to a catalogue. This tells the controller where it is pointing.
The focuser adjusts until star images are sharp.
The mount follows the target as Earth turns.
The sensor collects light during one exposure.
Usable frames are shifted and rotated so the stars overlap. Poor frames can be rejected.
Combining aligned frames makes a stable signal easier to distinguish from random noise.
Brightness and colour are adjusted for display. Processing cannot restore information that was never captured.
01 · Point
Motors turn towards the selected target.
The early steps reuse one real exposure as context. Focus and alignment movements are exaggerated demonstrations, not a replay of the session. The last steps show the real stack and finished image.
Two ways to follow the sky
The S30 Pro has an altitude–azimuth mount and supports an equatorial mode. Equatorial use needs the appropriate support and polar alignment. The mount does not change how much light the lens collects.
Short exposures and alignment help manage field rotation in normal use. They cannot restore detail already smeared during one exposure. Rotated stacks can also leave uneven edges that need cropping.
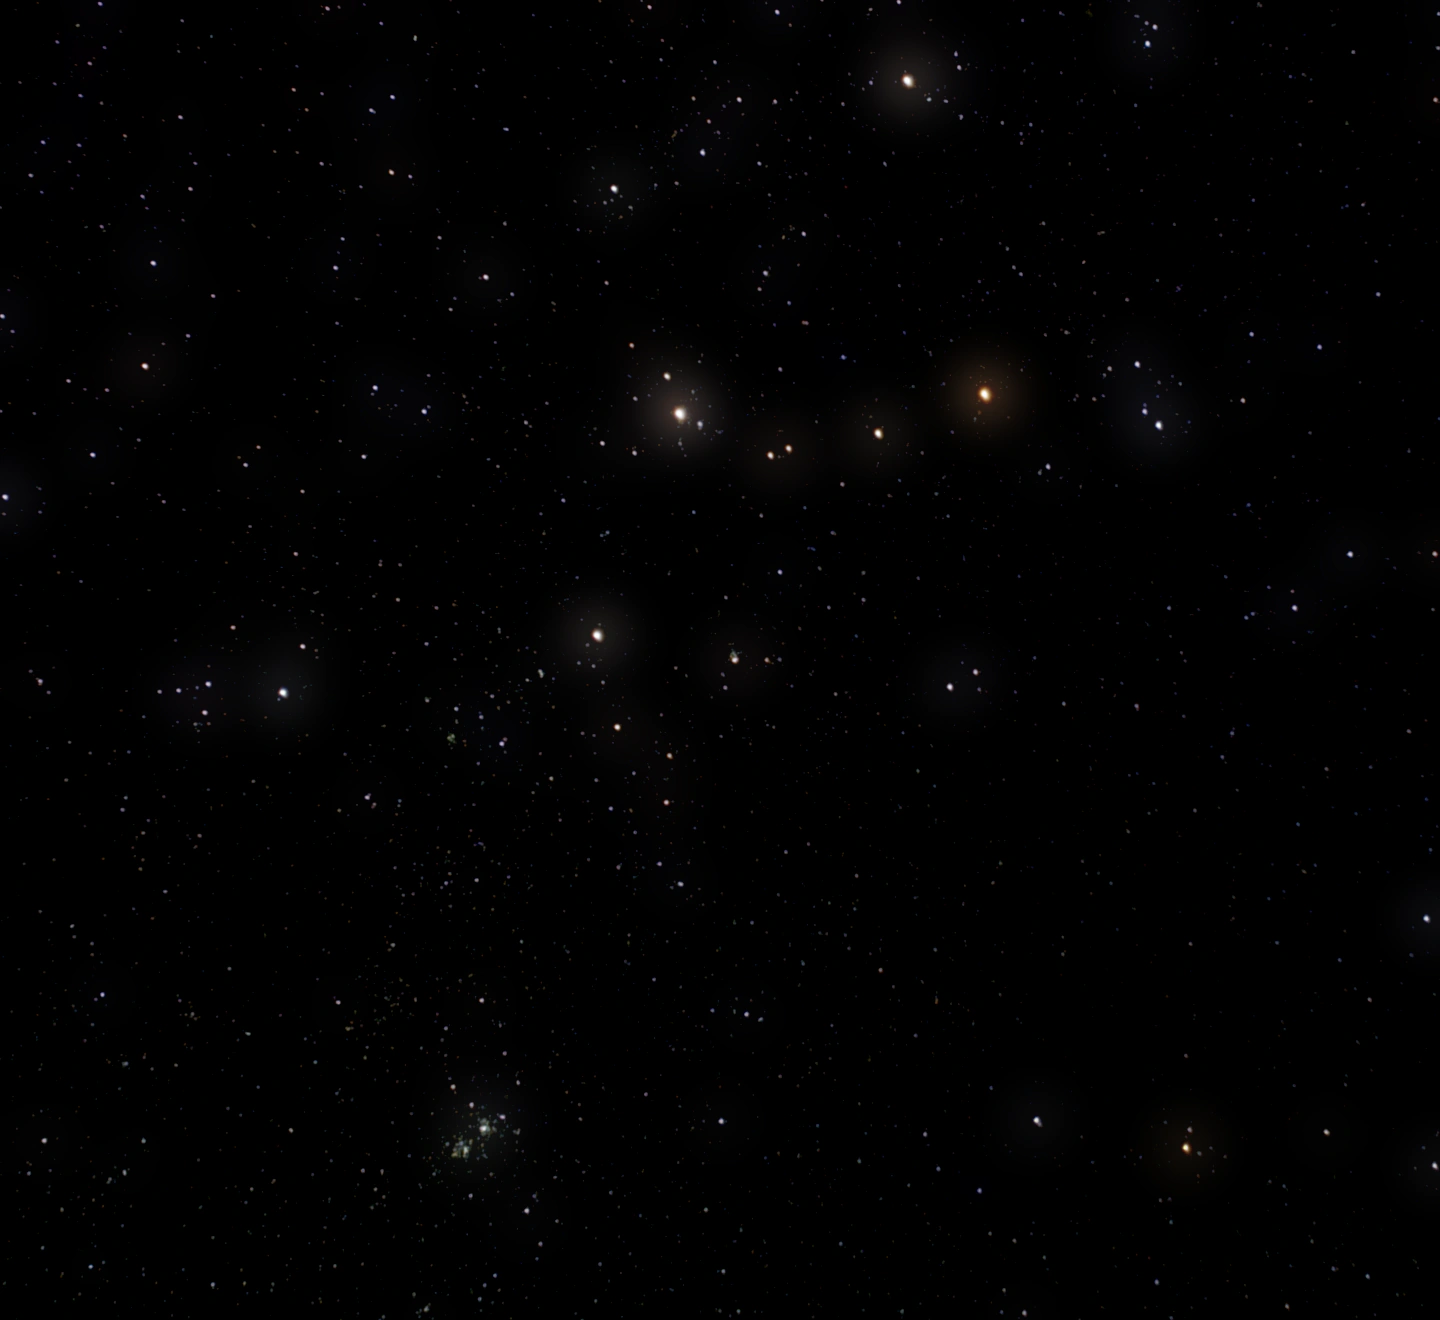 The camera frame stays fixed
Without tracking, the whole field drifts across the camera.
The photograph is moved to isolate the idea. This is not a replay of its capture or a prediction of trail length. Field rotation depends on sky position and mount geometry. Try the same time setting with each tracking mode.
Let some colours through
The UV/IR-cut filter keeps unwanted ultraviolet and infrared light out of normal images. The dual-band filter passes regions around oxygen’s O III lines and hydrogen’s H-alpha line, helping some glowing nebulae stand out against sky glow.
A galaxy’s starlight and a reflection nebula’s light spread across many wavelengths. A dual-band filter removes some of that useful signal too. It is not a universal improvement or a way to erase all light pollution.
The dark position blocks incoming light for calibration frames. It is not a noise-removing piece of glass. Solar imaging requires the proper external solar filter; the internal filters are not a substitute.
Visible colours pass through. Ultraviolet and infrared outside this scale are blocked to help the camera form a clean image.
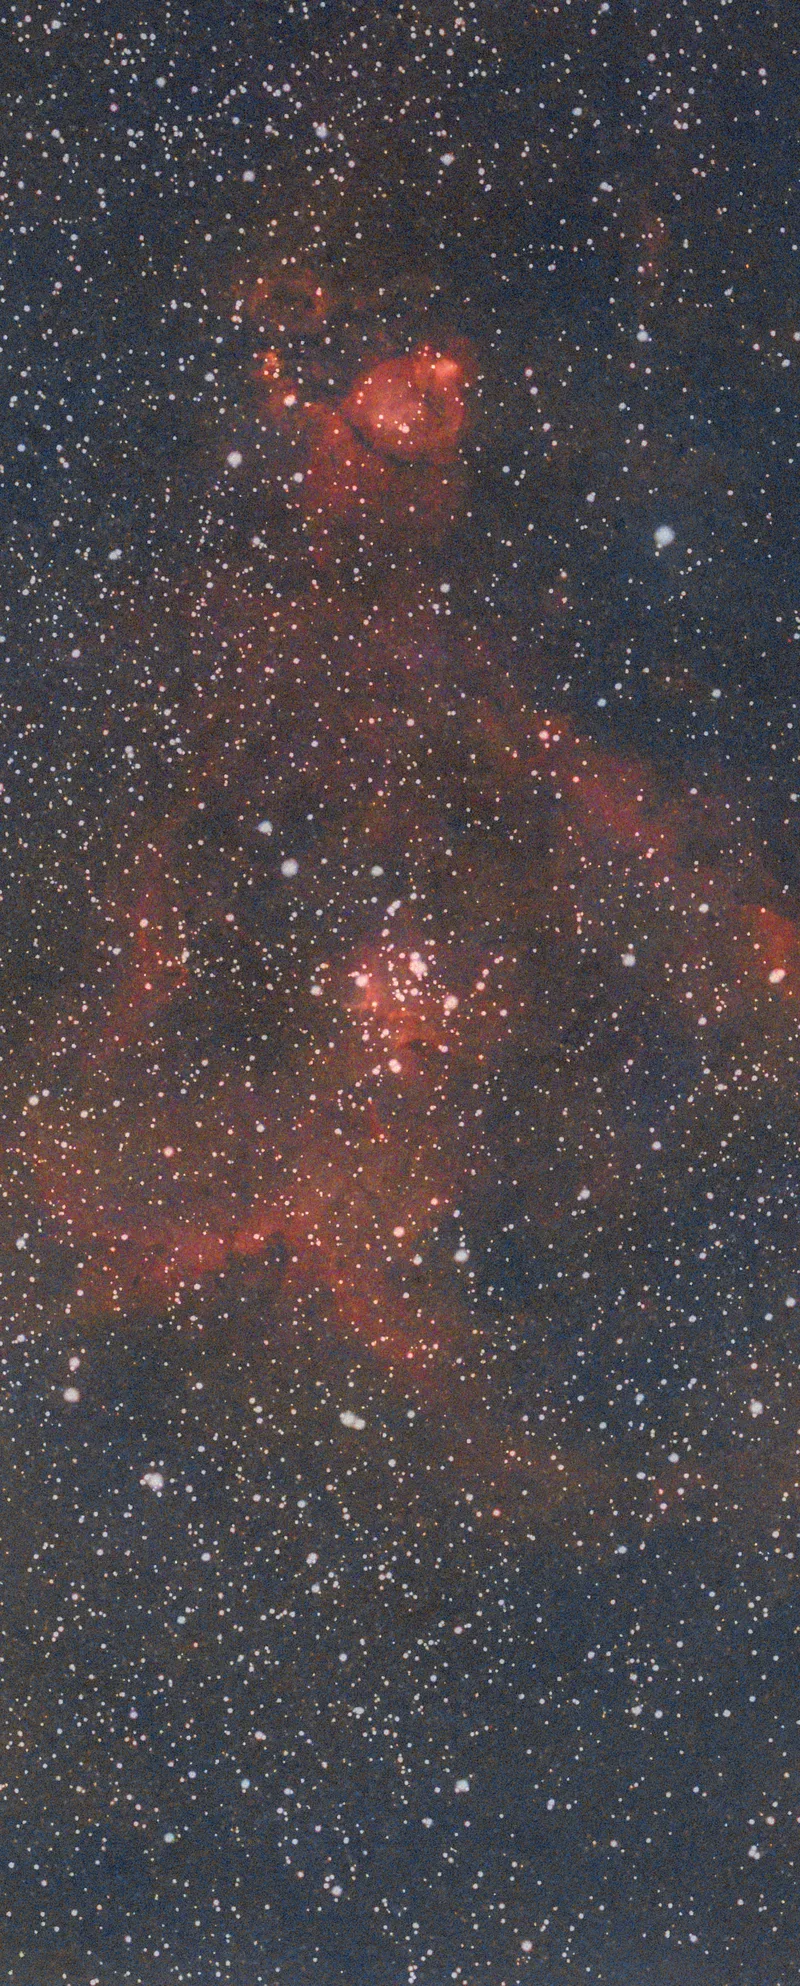
Glowing gas
Much of its light can be concentrated near particular wavelengths.
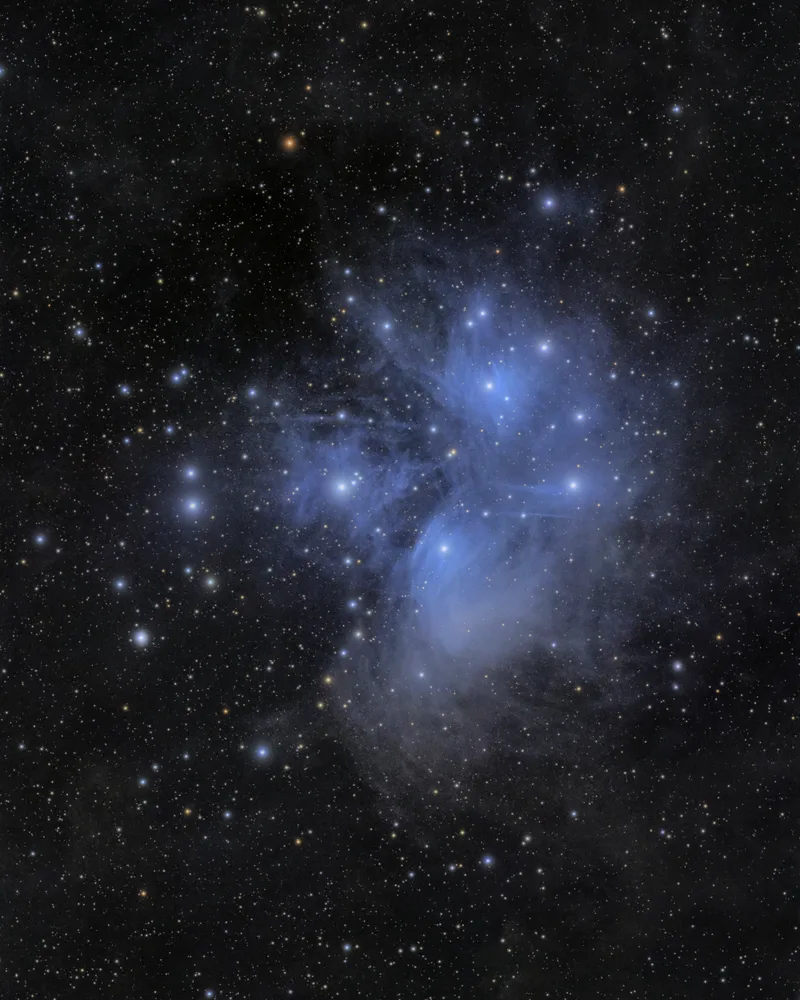
Stars & reflected light
Useful light spreads across many colours; a narrow filter removes some too.
The windows illustrate the published 30 nm O III and 20 nm Hα bandwidths. Actual transmission edges are gradual. The photos are examples of subject types, not a controlled filter comparison.
A camera replaces the eyepiece
The main sensor has about 8.3 million pixels. Those are samples of the image, not a promise of 8.3 million independently resolved details. Focus, the atmosphere, optics and noise all affect what survives.
The screen image is a rendering of measurements. Stretching makes faint light visible; colour balance changes its appearance. Enhanced colours can reveal differences without matching what an eye would see at the eyepiece.
Move the slider to collect more light. Watch the samples brighten, then lose highlight detail as they fill.
This fixed 32 × 32 grid is made from the finished photograph, not raw sensor data. The slider simulates less or more arriving light: empty samples are black; full samples clip, losing brightness differences. It illustrates finite capacity, not this camera’s measured response. Colour sensors use tiny colour filters, then estimate a full-colour image from neighbouring samples.
Watch a faint image grow
Each short exposure is a noisy measurement of the same subject. Aligning the stars and averaging accepted frames makes the repeatable signal stand out.
Try the model below, then compare it with the real Heart Nebula sequence. The calculator is an example, not the capture record for another photograph.
Example integration
accepted frames × seconds
Relative random noise
Compared with one frame of the same exposure. Independent, comparable noise averaged together falls as 1 ÷ √frames. This is not a prediction of final image quality.
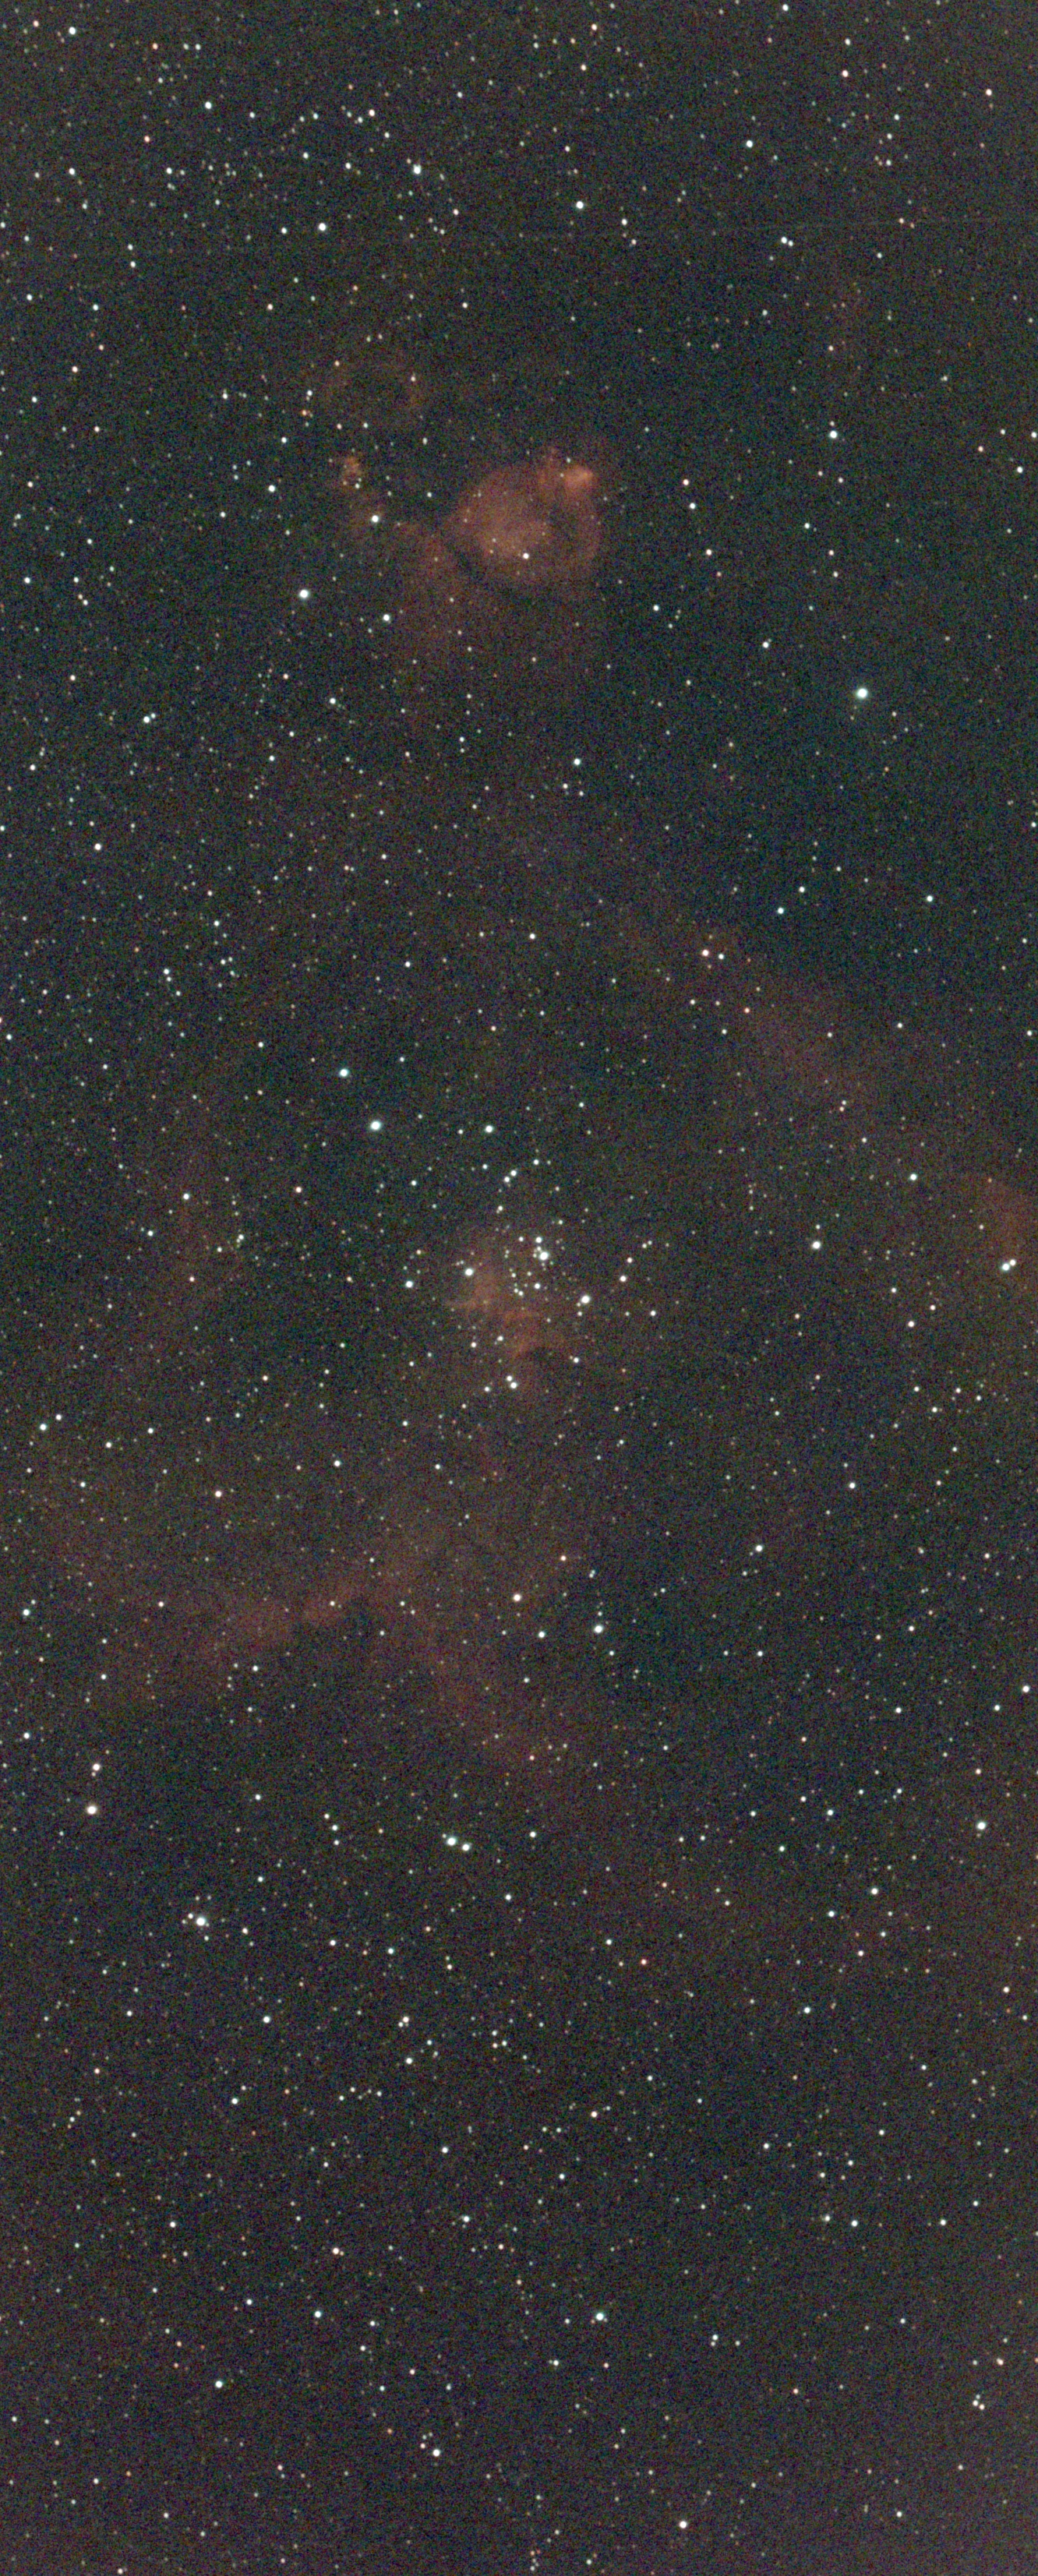 Now see the real thingWatch the Heart Nebula emerge from real frames →
Learning as I go
This guide will grow alongside the photo collection. It separates what the equipment does from what I know about a particular session. Exposure times and filters appear on a photograph only when that session’s details are confirmed.
Back to the sky