How telescopes work
Follow a little light. See how glass, mirrors and a camera turn it into a picture.
First, catch the light
A telescope gathers light from a patch of sky and brings it to a focus. A refractor bends the light with lenses. A reflector redirects it with mirrors. Both form an image.
An eyepiece lets your eye examine that image. A camera puts a light-sensitive sensor there instead. A smart telescope combines that camera with motorised pointing and a small computer.
An opening for distant light
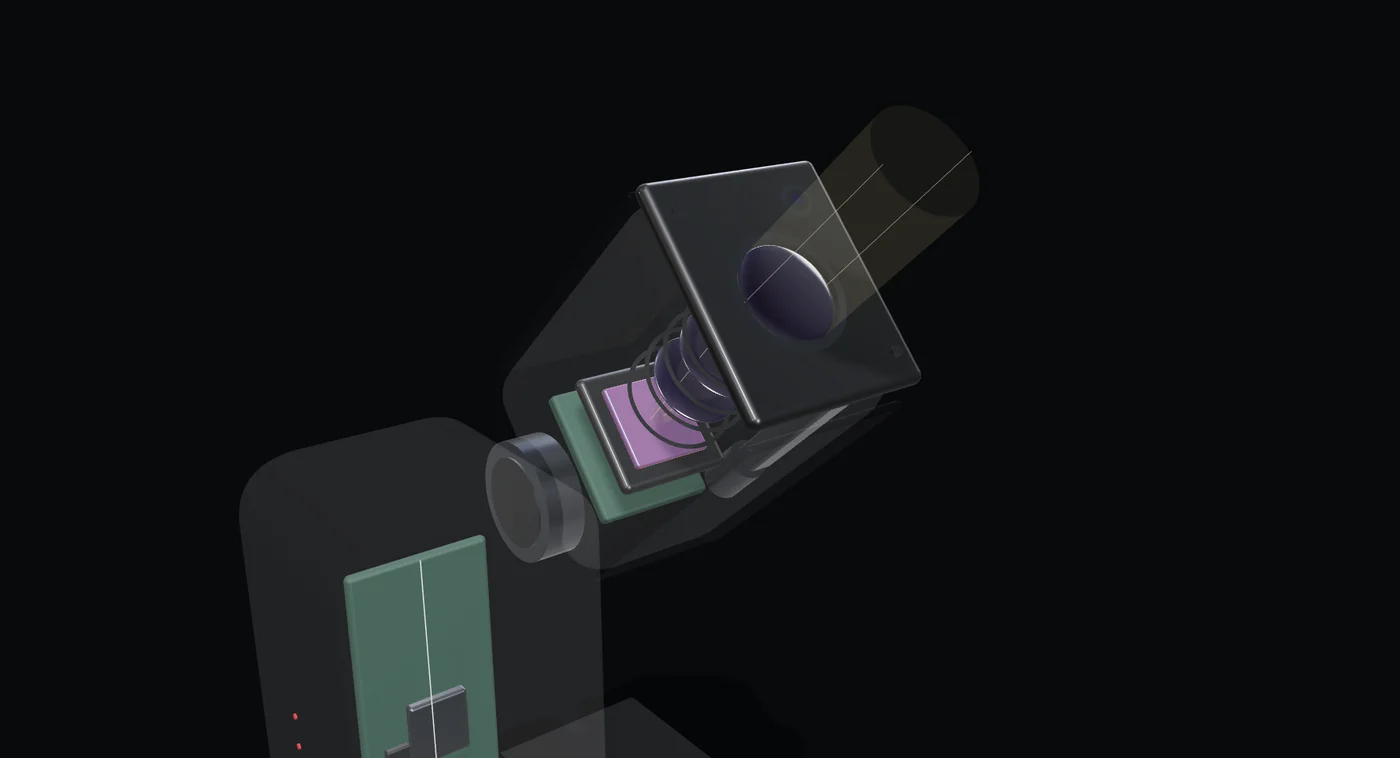
The 30 mm aperture is the clear opening of the main objective. Light from many points across the sky enters here.
This Seestar is a refractor: its lenses bend the light. A reflector uses mirrors to redirect and focus light instead. Both form an image that an eyepiece or camera can examine.
The light cone isolates rays from one distant point. Other points focus elsewhere on the sensor. Lens shapes, spacing and component positions are illustrative.
Three numbers, three different jobs
Aperture is the diameter of the opening that gathers light. Double the diameter and you collect four times as much light from the same source, before losses. A larger aperture can also separate finer detail, although the air, focus and camera can limit the result.
Focal length describes the optical system’s image scale. With the same sensor, a longer focal length makes an object occupy more pixels and shows a smaller patch of sky. It does not bring the object nearer or guarantee more detail.
Focal ratio is focal length divided by aperture. At the same focal length, a wider aperture gives a lower number and puts more light onto each pixel from an extended scene. Compare the whole setup, including pixel size and framing, rather than this number alone.
Focus brings rays from a point on the sky together at the sensor. For a compound lens, focal length is an optical measurement; it is not necessarily the distance from the front glass to the camera.
 Fixed sensor · portrait
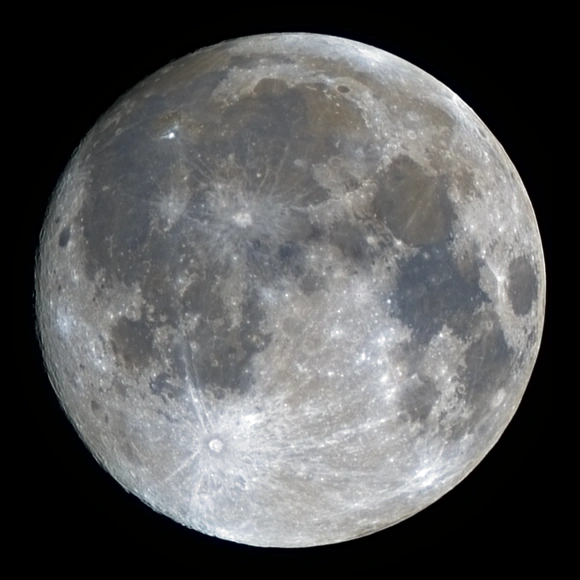
In focus: fine surface detail stays sharp.
These controls change a hypothetical telescope. The S30 Pro’s aperture and focal length are fixed. This uses the native IMX585 pixel area and an approximate lunar angular diameter. The photograph’s brightness stays fixed; the area bar compares light collection, before losses. Focus blur is illustrative.
Turn light into numbers
A sensor is a grid of tiny light collectors called pixels. During an exposure, arriving photons can release electric charge. The camera measures that charge and turns it into numbers.
A colour sensor puts red, green and blue filters over its pixels. Software combines neighbouring measurements to estimate a full-colour image. Pixels have limited capacity; very bright stars can saturate and lose colour or detail.
Move the slider to collect more light. Watch the samples brighten, then lose highlight detail as they fill.
This fixed 32 × 32 grid is made from the finished photograph, not raw sensor data. The slider simulates less or more arriving light: empty samples are black; full samples clip, losing brightness differences. It illustrates finite capacity, not this camera’s measured response. Colour sensors use tiny colour filters, then estimate a full-colour image from neighbouring samples.
Keep the stars in the frame
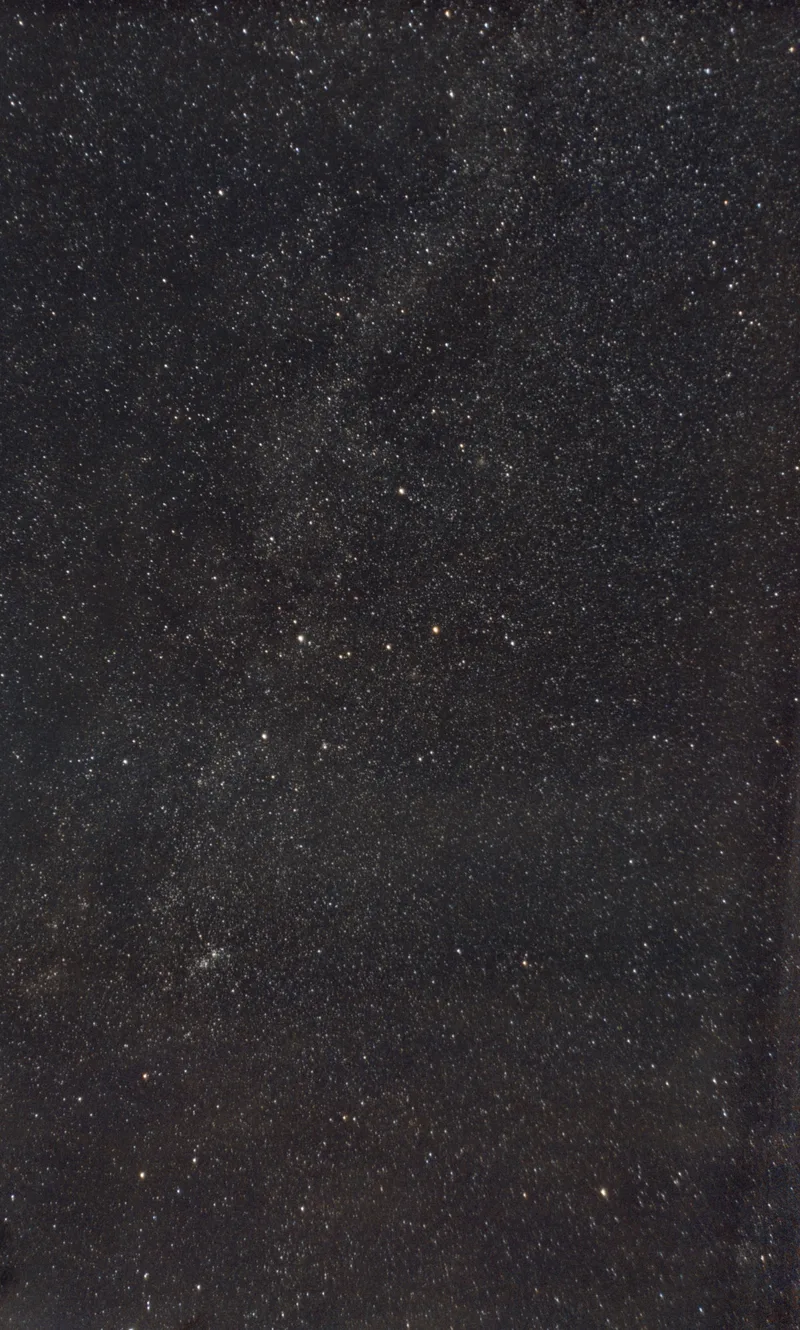
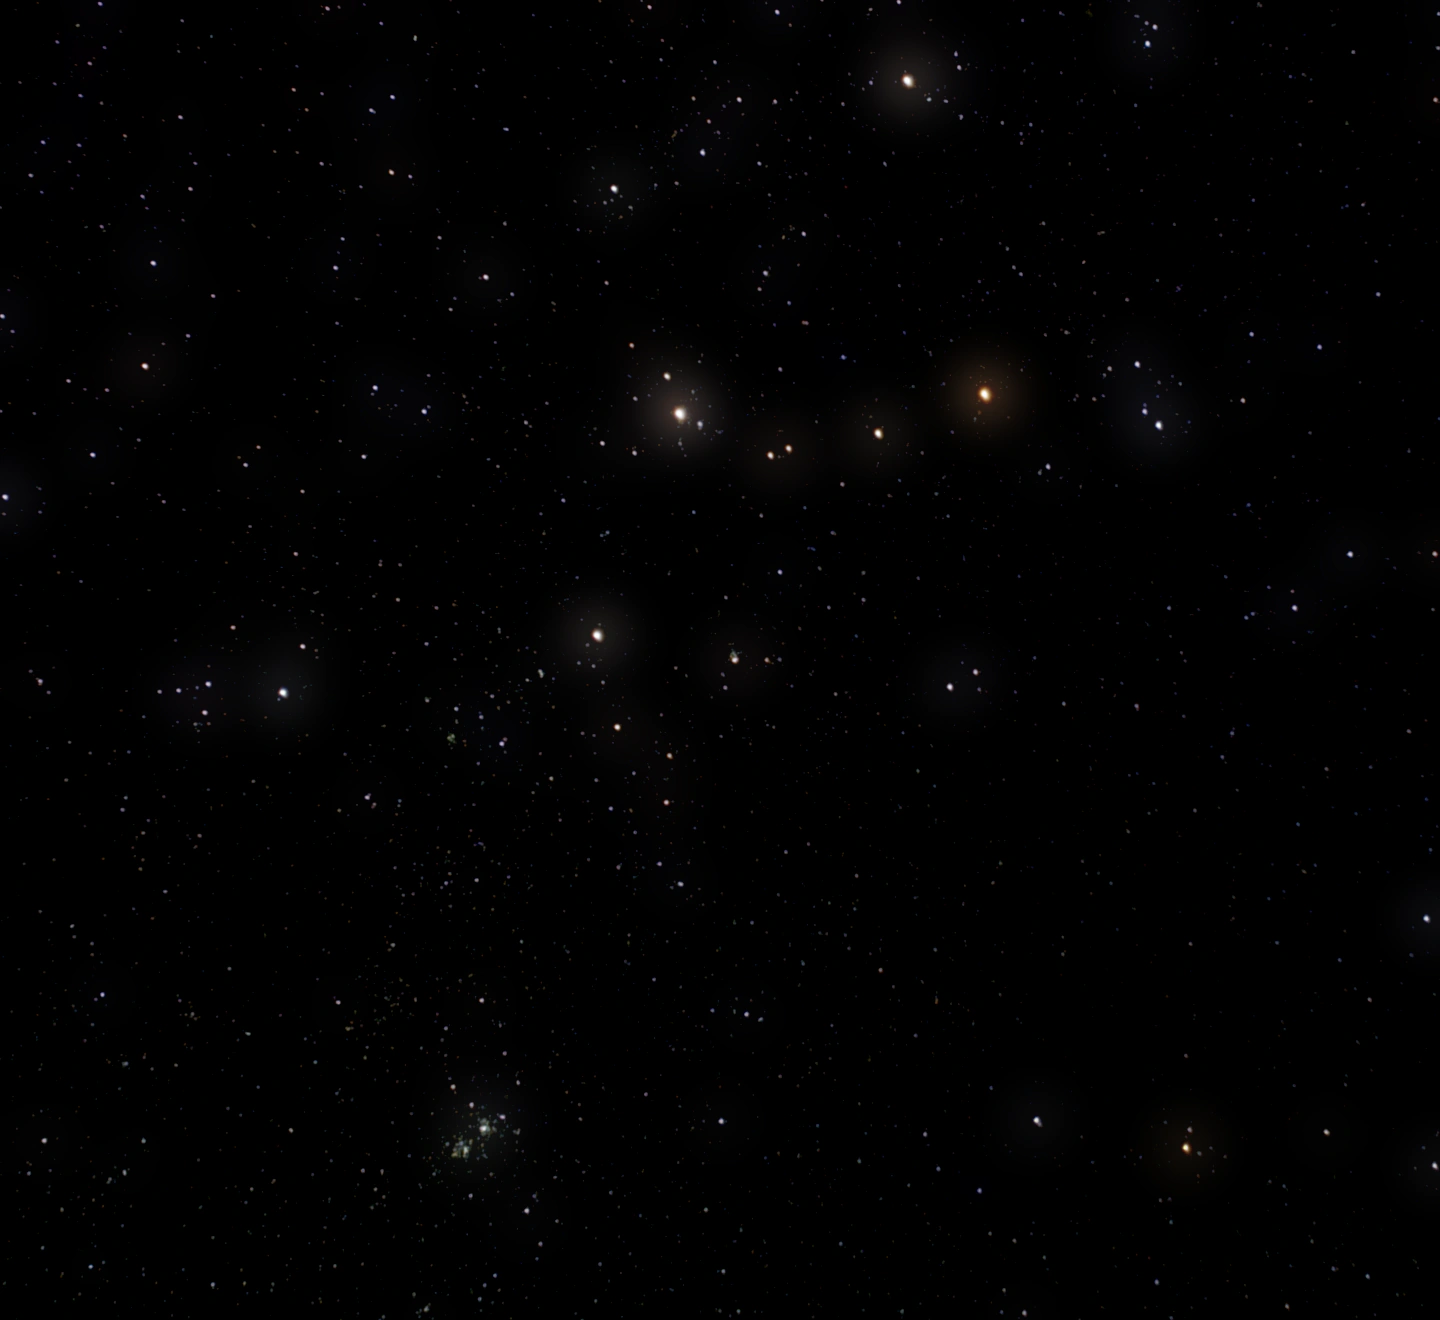
Earth rotates, so stars drift across a stationary camera. Tracking moves the telescope to keep following them. Longer individual exposures make tracking errors more visible.
An altitude–azimuth mount moves up/down and left/right. It can keep a target centred while the surrounding field slowly turns. Equatorial tracking follows an axis aligned with Earth’s rotation, avoiding that field rotation when aligned well.
 The camera frame stays fixed
Without tracking, the whole field drifts across the camera.
The photograph is moved to isolate the idea. This is not a replay of its capture or a prediction of trail length. Field rotation depends on sky position and mount geometry. Try the same time setting with each tracking mode.
Collect more time, not more zoom
Exposure per frame is how long one image collects light. Total integration is the usable exposure time added across accepted frames. Time spent setting up or rejecting blurry frames does not count.
Aligning and averaging many frames makes a steady signal easier to distinguish from random noise. Four comparable frames give about twice the signal-to-noise ratio of one; sixteen give about four times. Real results also depend on sky glow, camera noise and processing.
Example integration
accepted frames × seconds
Relative random noise
Compared with one frame of the same exposure. Independent, comparable noise averaged together falls as 1 ÷ √frames. This is not a prediction of final image quality.
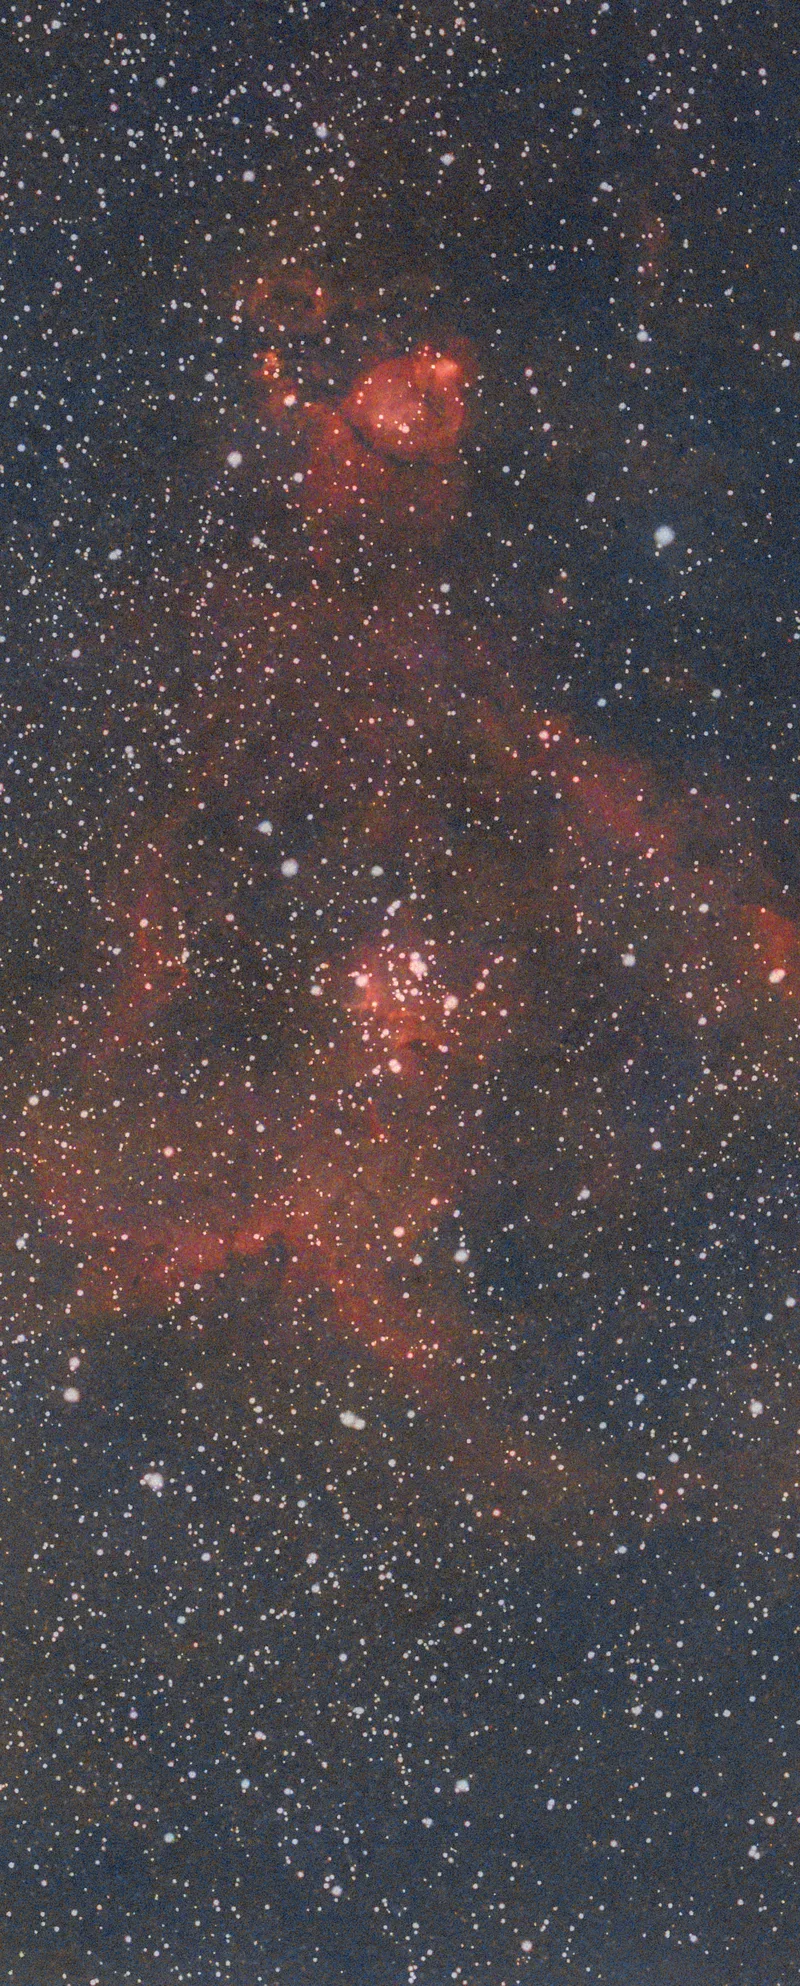
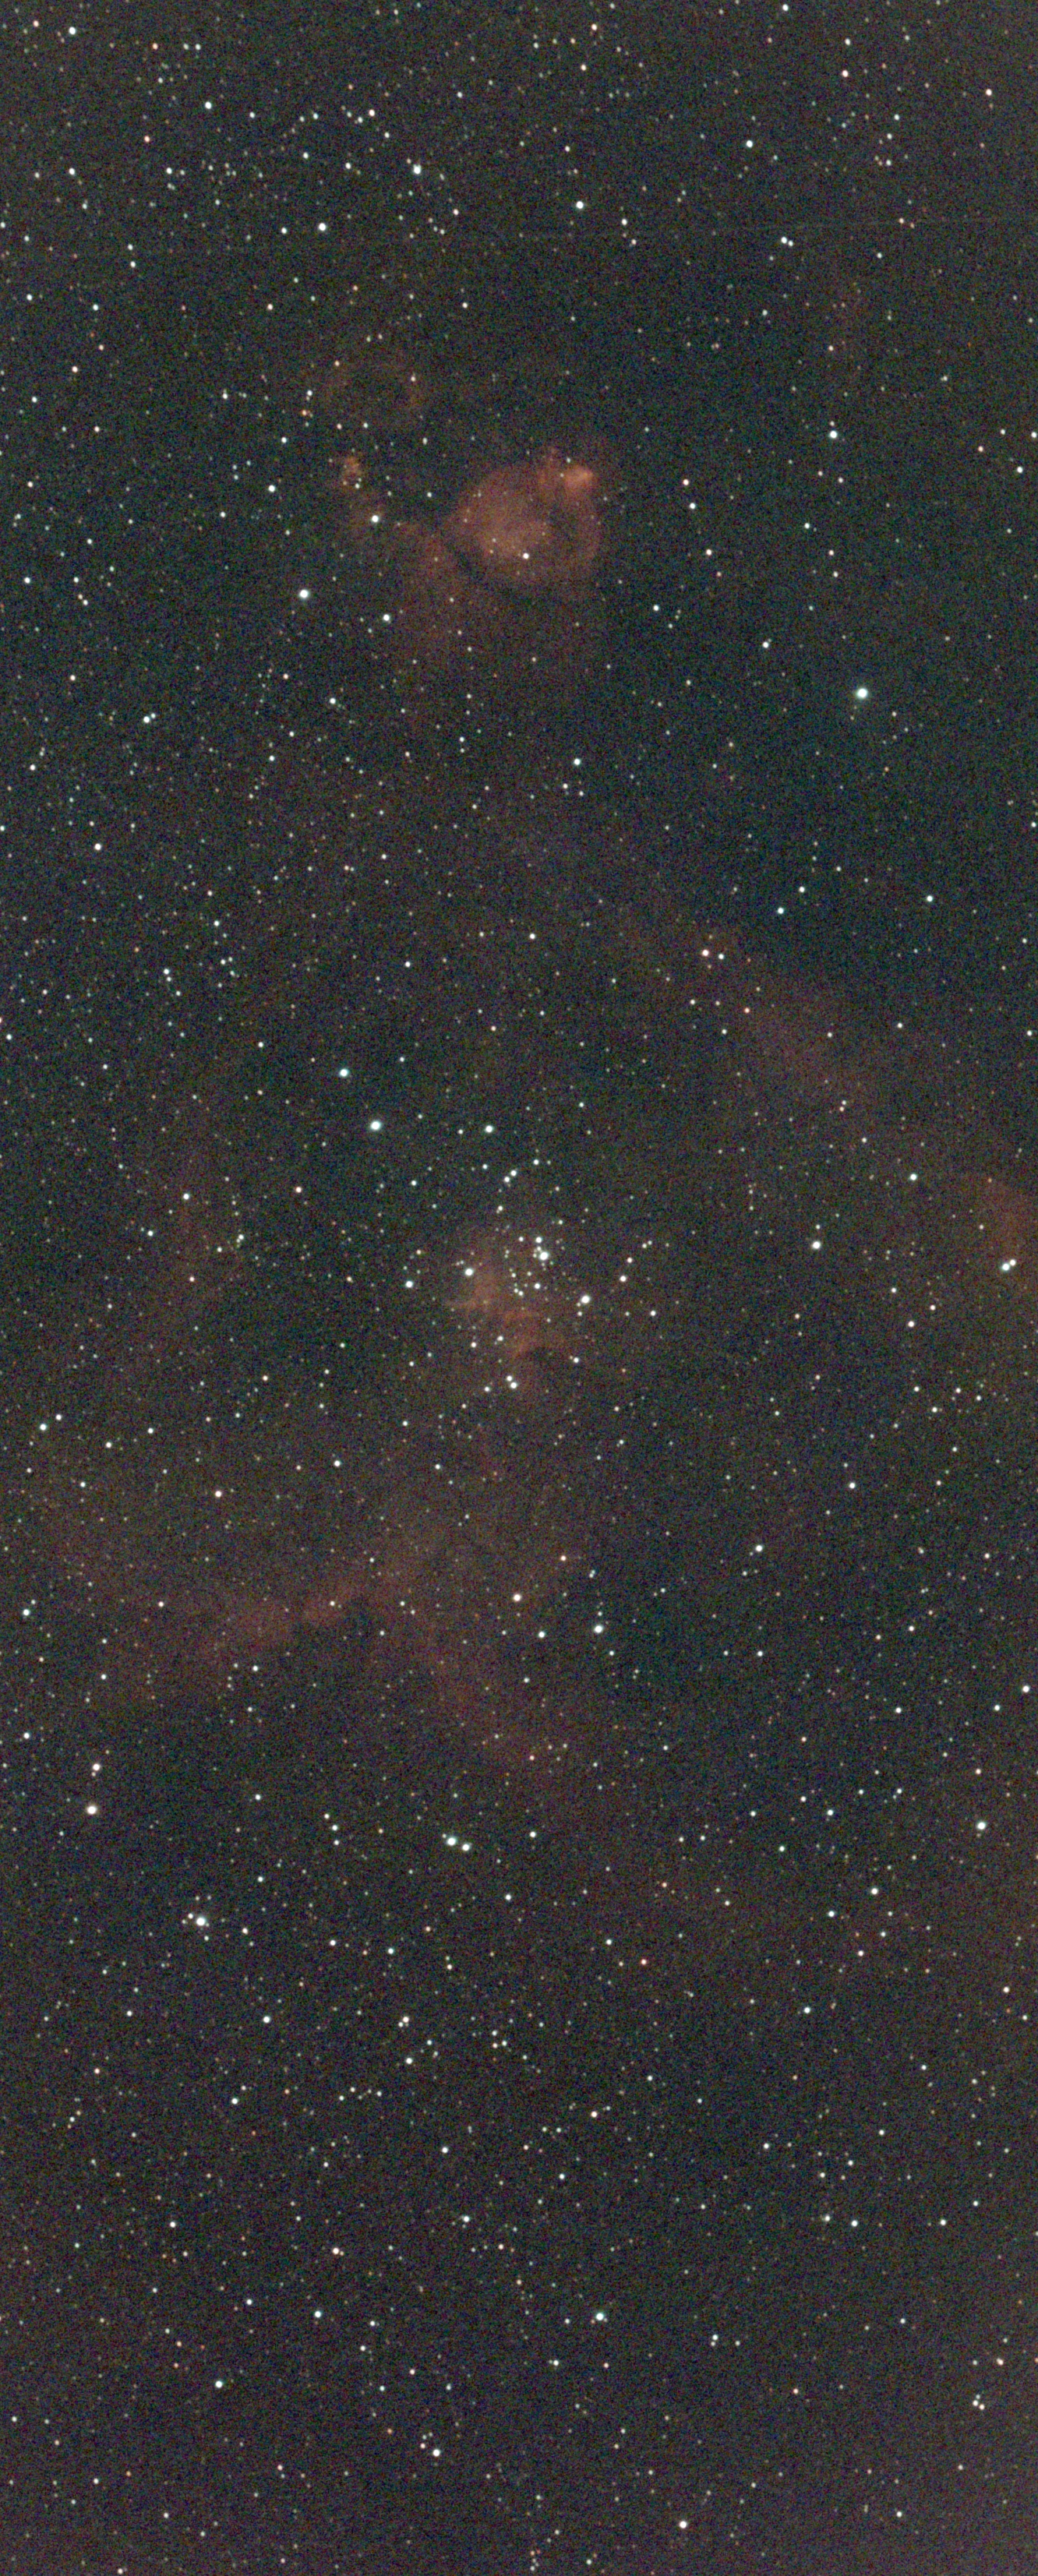 Now see the real thingWatch the Heart Nebula emerge from real frames →
Keep exploring
These experiments isolate one idea at a time. Real images also depend on the atmosphere, optical quality and how they are processed. The aim is to understand what each part contributes, then recognise it in a photograph.
Back to the sky